How to Make a Volunteer Certificate: Step-by-Step Guide for Organizations
Volunteer Certificate Builder
Build Your Certificate
Required Elements Checklist
Volunteer Recognition Certificate
This is to certify that [Volunteer Name] has contributed to the work of [Organization Name] as a [Role] from [Time Period].
Presented this [Date]
[Name/Title]
Getting a volunteer certificate isn’t just about a piece of paper. It’s about saying thank you in a way that sticks. Whether you’re running a small community group or managing volunteers for a national nonprofit, a well-made certificate shows appreciation, builds trust, and encourages people to keep showing up. But how do you actually make one that looks professional and feels meaningful? It’s simpler than you think.
Why a Volunteer Certificate Matters
Volunteers don’t work for money. They give time, energy, and often personal resources. A certificate is one of the few tangible ways to acknowledge that effort. Studies show that volunteers who receive formal recognition are 37% more likely to continue volunteering with the same organization. It’s not about the cost-it’s about the thought.
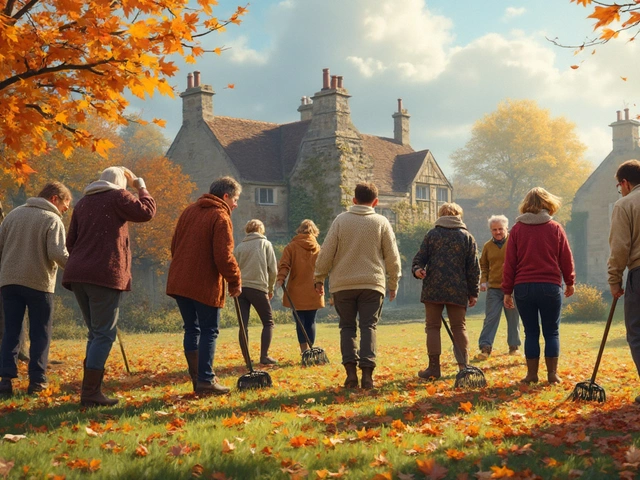
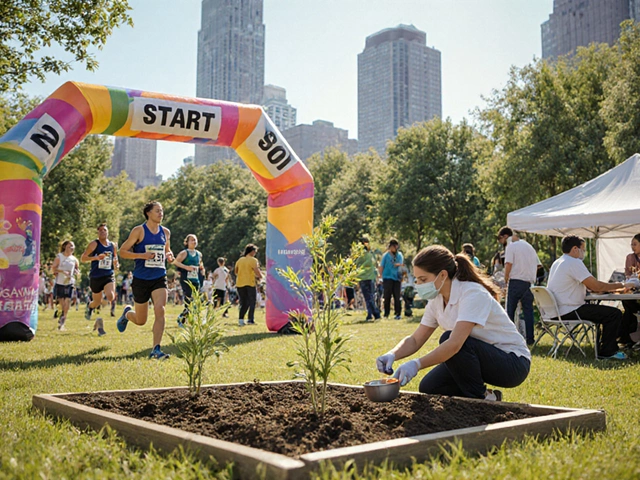
In New Zealand, where community spirit runs deep, organizations from local libraries to environmental clean-up crews use certificates to honor volunteers. A certificate can also help someone list their experience on a resume, university application, or job profile. It turns hours spent planting trees or tutoring kids into something that counts.
What Should Be on a Volunteer Certificate?
Don’t just slap a logo on a fancy template. A good certificate answers these four questions clearly:
- Who is being recognized?
- What did they do?
- When did they do it?
- Who is giving the recognition?
Here’s what every certificate needs:
- Volunteer’s full name - No nicknames. Use the name they go by officially.
- Organization name - Be specific. "Auckland Community Food Bank" beats "Local Food Bank."
- Role or activity - "Tutoring children in literacy" is better than "Volunteer work."
- Time period - "January 2025 to December 2025" or "50 hours served" - be accurate.
- Signature - A real person. Usually the director, coordinator, or chairperson. A printed name isn’t enough.
- Date issued - The day it’s handed out, not the end of the volunteer period.
Avoid vague phrases like "for outstanding service." Be specific. If someone helped organize 12 food drives, say so. Specificity makes it real.
Tools to Create a Volunteer Certificate
You don’t need to hire a designer. Here are the easiest tools, all free or low-cost:
Microsoft Word or Google Docs
Both have built-in certificate templates. In Google Docs, go to Template Gallery and search "certificate." Pick one, replace the placeholder text, and print. Use a bold serif font like Times New Roman or Georgia for that classic feel. Set the page to landscape mode for a more formal layout.
Canva
Canva has hundreds of free, downloadable certificate designs. Search "volunteer certificate" and filter by "free." You can upload your organization’s logo, change colors to match your brand, and even add a border or decorative element. Download as PDF for printing or email as a digital version.
Adobe Express (formerly Adobe Spark)
Another great option. It lets you create certificates with animated backgrounds (if you want to send digital ones) or static prints. The free version has plenty of options. It also auto-sizes for A4 and US Letter, so you don’t have to worry about margins.
Print-Ready Format
If you’re printing, use A4 (210 x 297 mm) or US Letter (8.5 x 11 inches). Set margins to 0.5 inches on all sides. Use 200-300 gsm paper for a premium feel. Avoid glossy finishes-they peel and smudge. Matte is better for signing.
How to Personalize It
Generic certificates feel cold. Personalization turns them into keepsakes.
- Include a short quote from the volunteer’s supervisor: "Maria’s patience with our senior readers changed how we think about community."
- Add a QR code that links to a photo gallery of the volunteer in action.
- Handwrite the name and signature if you can. It adds warmth.
- For long-term volunteers, mention milestones: "5 years of service," "1,000 hours donated."
One youth group in Wellington started including a handwritten note from the youngest person they helped. Parents cried. Volunteers came back year after year.
When to Give the Certificate
Timing matters. Don’t wait until the annual dinner if someone finished their 6-month shift in April. Give it soon after their last day. A quick ceremony, even if it’s just a coffee and a handshake, means more than a letter in the mail.
Some organizations give certificates at:
- End of a project
- Anniversary of service (1 year, 3 years)
- Volunteer appreciation day
- After completing training
For short-term volunteers (like weekend events), a digital certificate emailed within 48 hours works perfectly. People appreciate the speed.
Common Mistakes to Avoid
- Spelling errors - Double-check the name. Misspelling a volunteer’s name is worse than not giving a certificate at all.
- Using clipart - Stock images of shaking hands or globes look amateur. Stick to clean design.
- Too much text - Keep it under 10 lines. White space makes it look elegant.
- Forgetting the signature - A certificate without a signature feels like a printout. Someone must sign.
- Only giving them to long-term volunteers - Even someone who helped for 10 hours deserves recognition. Every hour counts.
Digital vs. Printed Certificates
You don’t have to choose one. Many organizations do both.
- Printed - Best for formal recognition, framing, or handing out at events. Feels more official.
- Digital - Easy to send, store, and share. Good for remote volunteers or those who move often. Can include a clickable link to your website or social media.
For digital certificates, use PDF format. It’s secure, universal, and can’t be edited. Name the file clearly: "VolunteerCertificate_JaneDoe_2025.pdf"
What to Do After You Make It
Once the certificate is ready, don’t just hand it out and forget it.
- Ask the volunteer if they’d like a copy sent to their email or LinkedIn.
- Feature them on your website or newsletter (with permission).
- Keep a digital archive of all certificates you issue. It helps track volunteer history and future recognition.
- Survey volunteers: "Did our recognition mean something to you?" Their answers will shape future efforts.
A volunteer certificate doesn’t cost much. But done right, it costs nothing to give and everything to receive. It’s a quiet way to say: We see you. We value you. You made a difference.